How to creatively use expanders for sound design: Five tips
Do more with expanders, an often-overlooked member of the dynamics family

Image: Getty
Dynamics in music production refers to changes in volume. Maybe the best example is The Pixies, whose songs famously followed a soft/loud pattern; that change in volume is dynamics. To more effectively control those dynamics, you can use dynamics processors. The most famous of these is compression but there are others, such as expansion.
READ MORE: Beginner’s Guide: Everything you need to know about music production
Compressors tame the level of audio that has passed a certain threshold, while expanders do what you think they might based on the name: they raise it. Rather than making the loud part quiet, like a compressor, they make the loud part louder.
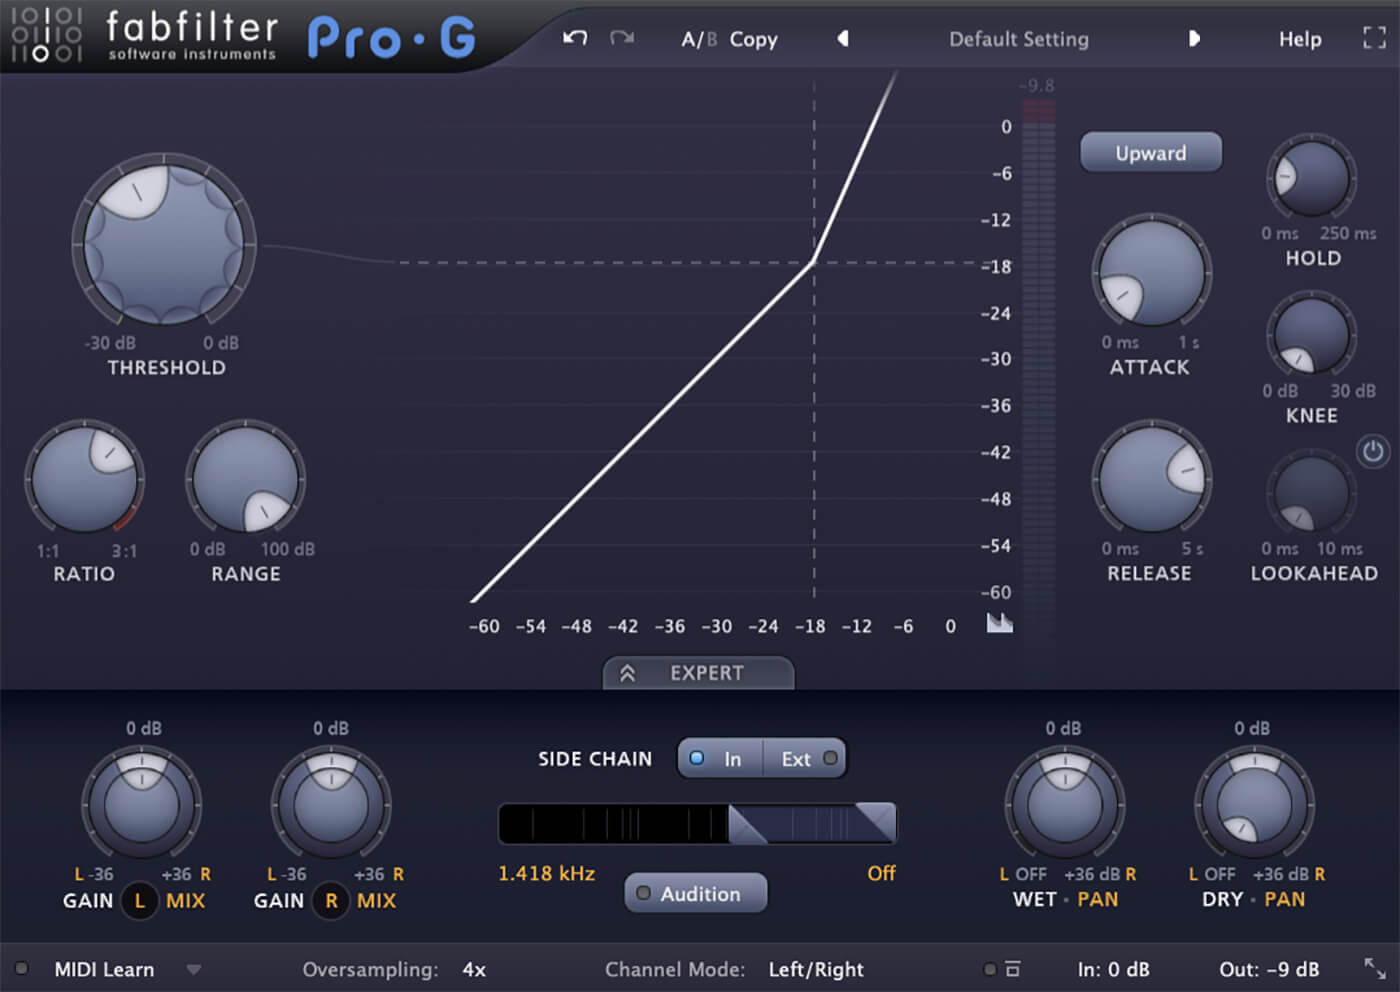
There are two types of expansion: upwards and downwards. Upwards expansion takes peaks and exaggerates them, while downwards expansion reduces a signal that passes below a threshold. Sure, there are plenty of bread-and-butter ways to use expansion, such as cleaning up mic bleed in drum tracks, but you can also expanders in a creative fashion.

There aren’t as many expander plugins on the market as compressors but you may already have one in your DAW. If not, FabFilter’s Pro-G is a solid expander that does both upwards and downwards expansion – this is what we’ll use to demonstrate these five creative expander methods.
Getting to grips with expander controls
Expanders have similar controls to compressors. While most parameters – attack, release, and knee, for example – are the same, threshold and ratio behave differently than compressors. (If you’re unfamiliar with compressors, you can learn more in our beginner’s guide)
The threshold determines the volume level at which the expander starts working. Again, for upward expansion, the signal is expanded when it exceeds the threshold. For downward compression, the signal is reduced when it falls below.

Ratio behaves differently for each type of expander. In upwards expansion, the expander amplifies the level, so a ratio of 1:4 at a 0dB threshold results in four times the first number. For example, a 4dB rise for 1dB over the line, an 8dB rise for 2dB over, etc. In downwards expansion, the signal is reduced, so a 2:1 ratio would yield 2dB of reduction for every 1dB below the threshold.
Gated piano
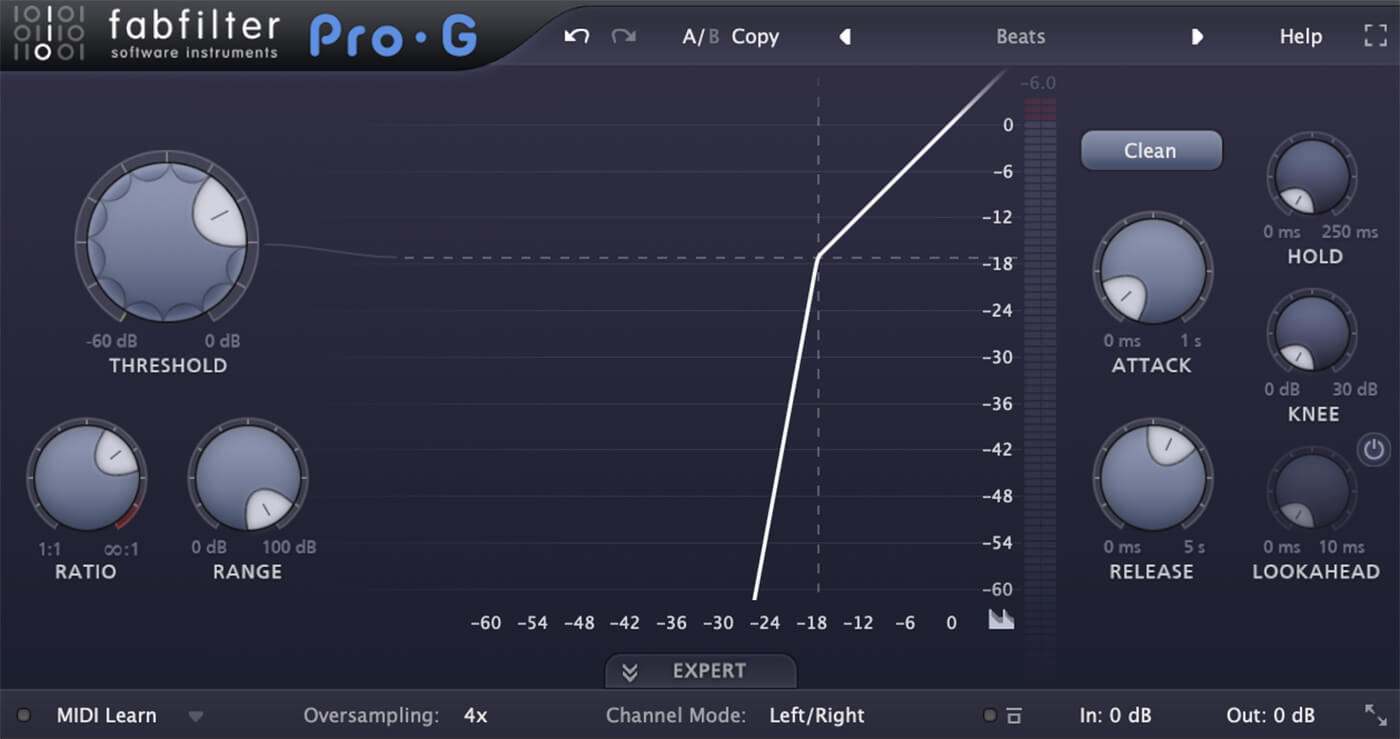
When the ratio on a downward expander is set to infinity:1, you get gating. This works a real treat when rhythmically sidechained.
Set up a sidechain track of kick drums to trigger the gate. On the expander, adjust the threshold to assign where to start gating. Remember, it’s the audio below the threshold that will be affected. Use the attack and release dials to play with the rhythm of the gate. Ease off on the ratio for a less harsh effect.
Drumloop hat upward expansion
Upward expansion is ideal for bringing out details in a drum loop that would be hard to do with other plugins. For example, this house loop has a nice groove but the hi-hats and other top-level percussion could be more prominent in this mix. You can achieve this with upward expansion and an internal sidechain.
Use the internal sidechain EQ to target the frequencies to expand. Next, set the ratio depending on how loud you want the frequencies to increase. Pull down the threshold until the targeted frequencies are suitably present. Use the attack and release settings to fine-tune the shape of the volume increase: a longer release will let more of the hats through.
Downward drumloop room killer
Downward expansion is a useful tool for removing the sound of the room from a drum loop. More flexible than a gate, with downward expansion you can dictate the release of the gain reduction and create something a little more natural-sounding than a harsh gate.
Using downward expansion, the quiet parts below the threshold will be attenuated so set the threshold to catch the tail, not the drum peaks. Use the ratio knob to dial in how much attenuation happens. Finally, work with the release to achieve as natural – or unnatural – of a gating effect as your production needs.
Rhythmic pads
Sidechain compression is a common trick that ducks a signal based on input from a second signal, such as a kick drum. It’s possible to do a similar thing with upward expansion but instead of pulling down the target, you raise it. This is a clever way to add rhythmic jumps to a synth pad or other, static sound.
Start by assigning the sidechain on the expander to an external signal, in this case, a drum loop. Use the threshold and ratio to control how loud the upward pumps should be. Lastly, use the attack and release knobs to adjust the position and width of the pumps.
Creative use of white noise with both upward and downward expansion
It’s possible to use more than one expander plugin in a series to create unique, rhythmic effects.
Start with a long sample of white noise and add an expander to the channel. Set it to upward expansion and sidechain it to a rhythmic signal such as a drum break. Use the expander settings plus the EQ in the sidechain circuit to help pull up blasts of white noise.
Next, use a downward expander to clean away the static portions of the signal. Again, use the settings – particularly the attack and release – to shape the rhythmic bursts. Feel free to make use of the internal sidechain to help target the frequencies.
Note that it’s possible to achieve a similar effect with a sidechained compressor set to duck but it won’t be nearly as flexible as doing it this way. Finally, get creative with delay or other effects.
Learn more music production tips and tricks.